Ambient Weather WH31LA Leak Detector for Models WS-1965, WS-2000, WS-4000, WS-5000 Weather Stations
- Buy 2 for $30.99 each and save 23%
- Buy 3 for $29.99 each and save 25%
- Buy 4 for $28.99 each and save 28%
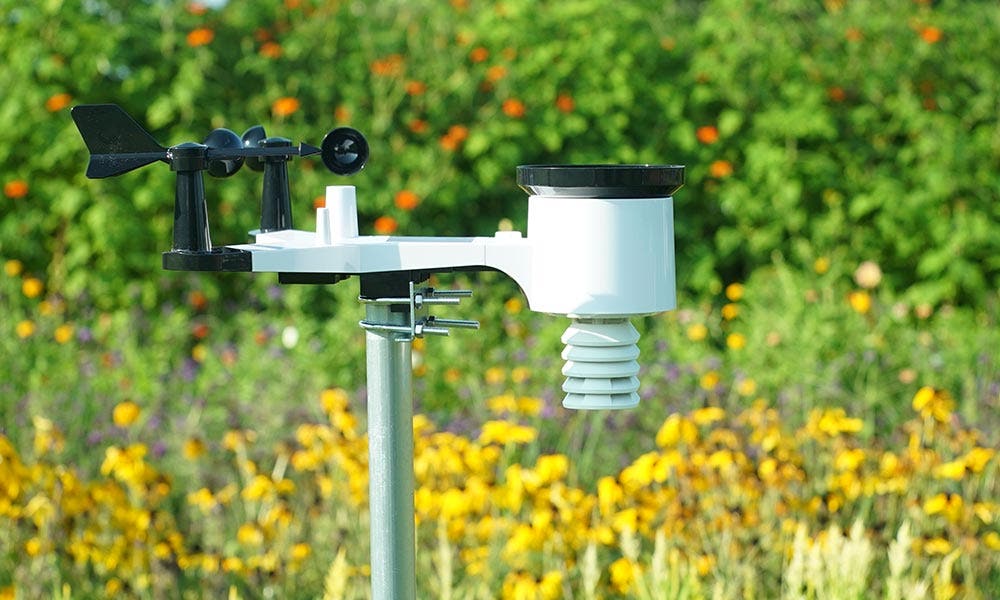
Add up to four leak detectors to your Ambient Weather WS-1965, WS-2000, WS-4000, or WS-5000, weather station.
The leak detector can be placed on the floor and detect moisture. There are two sensitivity settings. When a leak is detected, a loud 90 db alarm sounds, and the leak detection is sent to the console and the cloud for instant email, text, push, or IFTTT alerting.
Features
- Detects water every 3 seconds.
- Emits a loud 90 db alarm when triggered.
- High or low sensor sensitivity selectable to meet different requirements.
- View live sensor data online at AmbientWeather.net
- Trigger email alerts, text messages, push, or trigger IFTTT actions.
- Each console supports up to 4 leak detectors.
- Battery power level displayed on AmbientWeather.net
Wireless Specifications:
- Line of sight wireless sensor array RF transmission (in open air): 330 feet, 100 feet under most conditions
- Sensor detecting interval: 3 seconds
- Sensor reporting interval: 60 seconds
- RF Frequency: 915 MHz
Power Consumption:
- 2 x AAA batteries (not included). Alkaline or Lithium is recommended.
- Battery life: one to two years (unless the alarm sounds).
Product Questions
How to re-register a sensor through the Sensor ID screen.
https://ambientweather.com/faqs/question/view/id/1502/
Enter Setup mode as shown below.


Return to the Home Screen to view the WH31L Lightning Sensor Data or whatever sensor you re-registerd
To edit the label name on the console, select the Settings button ![]() , and then the down arrow
, and then the down arrow  9 times until Multi Channel Sensor Setup is highlighted and press plus
 ![]() to view the channel settings.
to view the channel settings.


To edit the channel name, Press or key to select the channel name. The name field will turn green.
Press the ![]() key to view the keyboard, and enter the sensor name. Press
key to view the keyboard, and enter the sensor name. Press ![]()


 to scroll to the character and press
  to select the character. Press ‘OK’ to save your newly labeled Sensor. Press
  to return to the setup page.


To view the Sensors ID panel on the display console, select the ![]() button to open the Set Up page.
button to open the Set Up page.
Then using the ![]() or
or ![]() buttons, highlight the More | Setup option towards the bottom right corner of the screen. You can then use the
buttons, highlight the More | Setup option towards the bottom right corner of the screen. You can then use the  button to select this option.
From this page you can use the ![]() or
or ![]() buttons to highlight the Sensors ID | Setup option towards the top right corner of the screen. You can then use the button to select this option.
buttons to highlight the Sensors ID | Setup option towards the top right corner of the screen. You can then use the button to select this option.